I’m currently studying Japanese. I’m nowhere near good enough yet to understand Japanese media without subtitles, but I still like trying to watch in hopes that I’ll pick up on a few words or something.
I came across an archive containing what seems to be an unrestricted version of NTKTV, containing access to several channels. It’s coded in Java also, but it expects Windows, Command Prompt, and Windows Media Player to be present.

When I initially tried running the .jar file for the TBS channel on Linux, it refused to download the video. I couldn’t quite figure out why this was happening, so I figured I would try a different approach. I used some program to decompile the .jar, and after a little bit of searching, I eventually found a URL.
The URL in the TBS channel lead to http://61.172.249.113:8080/jptv24vod/TBS01.xml which contains a mms address, followed by a list of available video files. So with that in-mind, I just took the mms address + a video file, and put that address into VLC media player.
This method worked, but it was not reliable. Sometimes it would work, but most of the times VLC would complain about not being able to find the file. When it did work though, it would work without issue for a few hours. This also led me to create a playlist, and in this playlist, I queued up an entire day’s worth of video. Was relatively easy to do since the video files all follow a certain format (TBS01_20141022_1800.asf = TBS01 (channel) + YYYY-MM-DD + Hour). If I recall correctly, this allowed for seamless playback of media from NTKTV’s server. This method of streaming got more unreliable as time went on, and I eventually just gave up on it, and continued to use the .jar file on Windows for some time.
I decided to check a forum thread about methods for streaming Japanese TV again a little bit ago, and saw that someone mentioned they had gotten NTKTV working on OS X (but they didn’t bother to post how). I replied to another post about why it didn’t work on Linux, and an idea hit me.
The way NTKTV works is, it downloads a small chunk of the video from the server to the OS’s temp folder, opens up Windows Media Player, and then continues to download the rest of the video in the background, while WMP plays it back. The issue on Linux however was that the video refused to start downloading at all.
When starting the .jar file in Terminal, I noticed a os_temp: line (which I somehow missed months ago). This line by-default led to /tmp/. My user account however does not have RW access to this folder, and I imagine this is the reason why the .jar couldn’t initiate the download. So the idea here was to change where Java should throw temporary files.
With a little bit of searching, I came across this page, which mentioned the command java -Djava.io.tmpdir=/path/to/tmpdir. I simply added that to the command I was using, and lo and behold, NTKTV’s app downloaded files just fine.
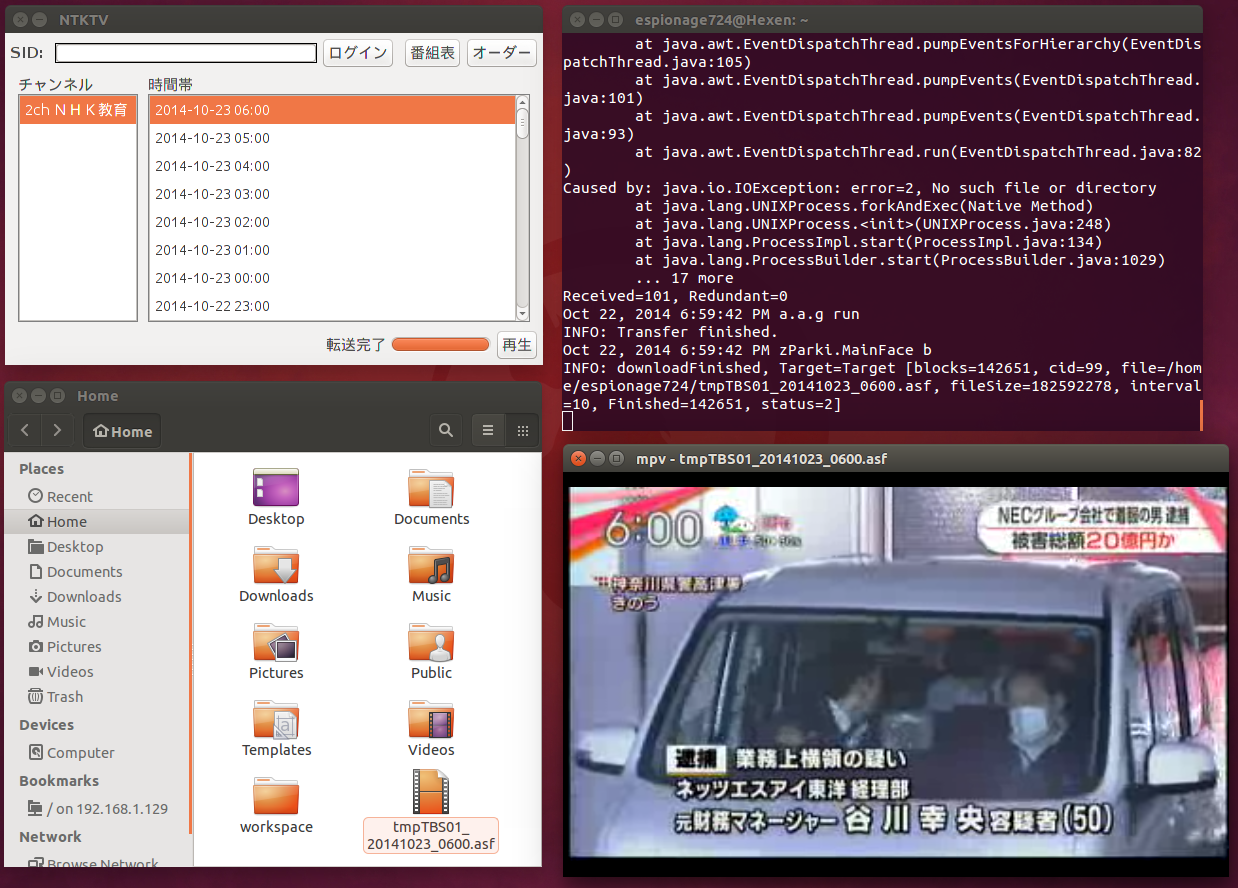 |
| Playback is fine with mpv 🙂 |
My next objective is to figure out how to get my Chromecast involved. Was easy in Windows; just relied on VLC’s browser plugin, casted the tab, and threw the .asf into Chrome. Now that NPAPI plugin support is gone from Chrome in Linux however, the plugin no longer works.
Edit: Videostream seems to do a great job. It can also handle video files that are still downloading in the background too.
And for anyone curious, the full command I use to set the tmp directory and launch the .jar file is: java -Djava.io.tmpdir=/home/espionage724/tmp -jar ‘/home/espionage724/Videos/ntktv/Kantofixed/TBS.jar’
